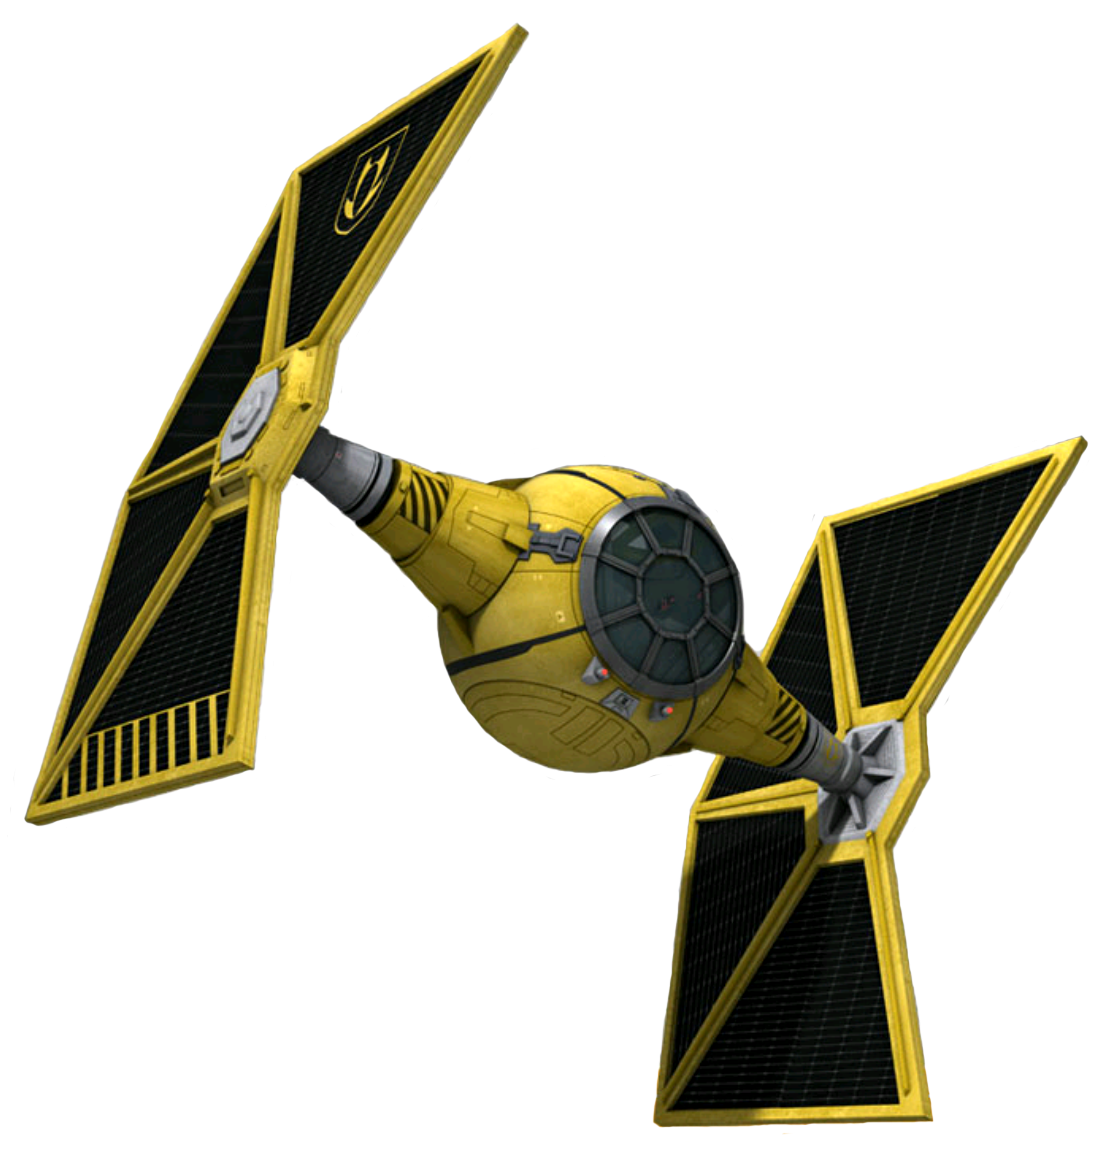
 Craft: Slayn & Korpil A/SF-01 B-wing Assault Starfighter
Type: Heavy assault Starfighter
Scale: Starfighter
Length: 16.9 meters
Skill: Starfighter piloting: B-wing
Crew: 1
CrewSkill: Starfighter piloting 5D, starship gunnery 4D+2, starship shields 3D+1
Cargo Capacity: 45 kilograms
Consumables: 1 week
Cost: 220,000 (new)
Hyperdrive Multiplier: x2
Nav Computer: Limited to two jumps
Maneuverability: 1D+1
Space: 6
Atmosphere: 330; 950 kmh
Hull: 3D
Shields: 2D
Sensors:
Passive: 30/OD
Scan: SO/1D
Search: 75/2D
Focus: 4/4D+1
Weapons:
Gyrhil R-9X Laser Cannons
Fire Arc: Front
Skill: Starship gunnery
Fire Control:1ID
Space Range: 1-3/12/25
Atmosphere Range: 100-300/1.2/2.5 km
Damage: 6D
2 Krupx MG9 Proton Torpedo Launchers (8 Torpedo Magazine)
Fire Arc: Front
Skill: Starship gunnery
Fire Control: 1D
Space Range: 1/3/7
Atmosphere Range: 50-100/300/700
Damage: 9D
3 ArMek SW-7a Ion Cannons (fire-linked)
Fire Arc: Front
Skill: Starship gunnery
Fire Control: 4D
Space Range: 1-3/7/36
Atmosphere Range: 100-300/700/3.6 km
Combined Damage: 4D
Gyrhil 72 twin auto-blaster
Fire Arc: Front
Skill: Starship gunnery
Fire Control: 2D
Space Range: 1-8/25/40
Atmosphere Range: 100-800/2.5/4 km
Damage: 3D
Rules: The B-wing features a very sophisticated but fragile gyroscopically-stabilized command pod, as well as a ranging mode for the laser cannon. If, for some reason, the laser is not operational, reduce all fire control codes by -1D.
The B-wing's stabilization system fails when it suffers heavy damage. In game terms, when the fighter is heavily damaged, a roll of 1-2 (used to determine which system is damaged) means the stabilization system has failed. Reduce all fire control codes by-1D (since the craft is no longer a stable weapons platform).
Sublight speed falls from 6 to 2 (atmosphere speed goes from 330; 950 kmh to 225; 650 kmh).
These penalties are cumulative.
Components
Weapons: {replaces the above laser cannons}
Standard Taim & Bak KX8 Laser Cannon: The default laser cannon/ion cannon combination on the B-wing is not often used, and is oftentimes replaced by the rotary cannon. {as above}
Krupx Guided Rotary Cannon: The guided rotary cannon is rarely used on account of its reduced damage. While the auto-aim helps against mobile targets, your craft will have trouble turning while the cannon is firing. {Fire Control: +2D, Manueverability: -1D}
Gyrhil EM-8V Auto-Aim Cannon: Identical to the default cannon, but causes less damage and has auto-aim. The auto-aim on the cannon helps when tracking mobile targets like TIE Interceptors, but this upgrade is situational at best. {Fire Control: 3D, Damage: 3D}
Krupx Rotary Cannon: The rotary cannon is most often seen used by players who enjoy head-on attacks against enemy fighters, or by players in a dedicated anti-capital ship role. The rotary cannon sharply reduces your turning ability while firing, limiting its effectiveness in turning fights. {Fire Control: +1D, Manueverability: -1D< Damage: +1D}
Countermeasures: {Elite Pilots can choose to equip their fighter with one of the below}
ArMek HM Seeker Warheads: Seeker Warheads, or sometimes called "flares", are the most common and flexible anti-missile countermeasure. TIE Fighters are often found turning and manoeuvring, making chaff less useful, and the sensor jammer only has a single use. {When used reduces enemy skill to attack the fighter with Missiles by 3D}
Particle Burst: The Particle Burst is part of the default B-wing loadout. As B-wings are often attacked by a large number of missiles, and oftentimes fly in a straight line while bombing targets, chaff can prove useful for them. {When used creates a cloud behind the fighter which reduces all skill with missiles by 3D, but only for weapons fires through the cloud}
Melihat Sensor Jammer: The sensor jammer's short 4 second duration and single use make it not often used. Its biggest benefit is being able to shake missiles at any rate and from any direction. {A single use system, which stops any missile from hitting the fighter}
Auxiliary: {replaces the above Proton Torpedo weapon with two (left and right) Auxiliary systems}
Krupx MG7-A Proton Torpedo: Standard Proton Torpedo, as B-Wings are normally equipped with. {as above but 4 Torpedo Magazine}
Taim & Bak Ion Bomb: Ion bombs cause extra damage to shielding and can disable subsystems, but do not cause raw damage. Follow up attacks will be required to damage the targets. {Skill: Starship Gunnery: Ion Bomb, Scale: Capital, Fire Control: 0D, Space Range: 1/3/7, Atmospheric Range: 50-100/300/700m, Damage: 8D Ion Damage, Rate of Fire: 1, Ammo: 3}
Arakyd PW-16 Proton Bomb: Proton bombs cause considerable damage to targets. {Skill: Starship Gunnery: Proton Bomb, Fire Control: 0D, Space Range: 1/2/4, Atmospheric Range: 50-100/200/400m, Damage: 10D, Ammo 3}
Czerka Seeker Mine: Drops a mine behind you. The mine locks onto and chases any enemy that gets too close. Mines are most effective in narrow corridors where enemies will have to run near them.. {Skill: Starship Gunnery: Seeker Mine, Fire Control: 5D (does not use pilots skill), Space Range: 3, Atmospheric Range: 300m, Damage: 6D, Ammo: 5 mines, mine is dropped behind the fighter, where it follows for up to 1 minutes until another vessel enters it's range, upon which it attacks using only it's Fire Control}
Chempat Emergency Assault Shield: The Assault Shield, when activated, puts up a shield in front of you that blocks a large percentage of damage. It only lasts 3 seconds and sharply reduces your turning ability when active. It is best used therefore in head-on attacks against enemy players, or as additional protection when attacking an enemy capital ship. {a Single Use Force Shield, which provides adds 4D to shields for 1 round}
Quarrie Composite Beam Cannon: The composite beam cannon, is a powerful anti-capital ship weapon. While you can't alter your course with the beam active, it is more than capable of drilling through shields and hull to deal considerable damage - especially against enemy subsystems. {Scale: Capital, Space: 1-5/15/32, Atmosphere Range: 100-500/1.5/3.2km, Fire Control: 3D, Damage: 4D, Cannot Dodge attacks, Requires a 5 round cool down before using again}
Quarrie Composite Ion Beam Cannon: Unique to the B-wing, the Composite Ion Beam Cannon is identical to the standard beam cannon, but deals ion damage instead. This lets it slice through shielding quickly, or cause heavy damage to a flagship's power system. Equip with the standard beam cannon to become a one-man capital ship killing machine. {Scale: Capital, Space: 1-5/15/32, Atmosphere Range: 100-500/1.5/3.2km, Fire Control: 3D, Damage: 4D Ion Damage, Cannot Dodge attacks, Requires a 5 round cool down before using again}
Quarrie Gyro/Aux Control Module: Unique to the B-wing, this stabilizes the cockpit while the rest of the ship rotates around you. Equipping this also doubles the ammunition capacity of your remaining auxiliary. This lets you carry as many as 10 proton bombs, 20 ion bombs, or 12 ion torpedoes. In case your other auxiliary uses power instead (the two composite beam cannons or the assault shielding, for example), it will recharge 50% faster. (Basically the same as equipping the same auxiliary system twice)
Hull: {One of the below may be selected for specific missions}
Incom Ferroceramic Hull: The standard hull, with no strengths or weaknesses. {as above}
Fabritech Dampener Hull: Increases the amount of time an enemy needs to lock onto you. It is a situational upgrade for fighters, dependent on how often missiles lock onto you. {-1D to enemy Fire Control for Missiles}
Carbanti Reflec Hull: Equipping this on an B-wing helps with approaching enemies from odd angles, with a moderate health reduction. Avoid head-on attacks, and stay close to the edges of the battle. Combine with Ion Torpedoes and Proton Torpedoes to sneak close to a Star Destroyer and cause heavy damage before being spotted. {-1 to Hull, +3D to difficulty to detect the Fighter on Sensors}
Chempat Deflector Hull: The deflector hull places more emphasis on your shields rather than your health. {-1D Hull, +2D Shields}
Engines: {One of the below may be selected for specific missions}
Incom Sublight Engine: The standard sublight engine with no benefits or drawbacks. {as above}
Unstable Sublight Engine: This engine makes you lose a moderate amount of both health, but offers greatly increased acceleration and speed. What really makes this engine stand out, however, is the large explosion you create when you are shot down. Some pilots use this explosion as an anti-capital ship weapon, hoping to take out the capital ship's turrets when they die. {-1D Hull, +2 Speed, +1D Manoeuvrability, 7D Explosion when destroyed}
Quadex Jet Engine: This engine greatly increases the rate at which you generate boost power, but also greatly increases the rate at which you consume it. This engine is mostly designed for drifting, as it performs very poorly when boosting in straight lines. {Requiring a 3 round cool down, this engine can provide a boost, increasing speed by +2, and Manoeuvrability by +1D}
Incom SLAM Engine: The SLAM (Sublight Acceleration Motor) engine automatically produces boost power regardless of whether there is maximum power in the engines or not, at the cost of maximum speed. in. {This diverts power to the other systems of the Tie Fighter, +1D damage to the Energy Weapons or Shields, at the expense of -2 Speed and -1D Manoeuvrability}
Shields: {One of the below may be selected for specific missions}
Standard Incom Deflector Shield: This shield offers no benefits or drawbacks. {as above}
Krupx Conversion Shield: When the conversion shield is depleted, this shield takes all your weapon power and dumps it into a brief but impenetrable barrier. With no weapon power, you are effectively a sitting duck, but it can give you time to temporarily withdraw from battle to make it to safety. {The Pilot may divert all Weapon energy to add +4D to shields for one round. Weapons recover at 1D damage per round as they recharge}
Gyrhil Resonant Shield: Reduces your maximum shield capacity, but overcharges your lasers automatically when your shields are maxed out. The shield also does not decay when you switch power away from them. Using this shield lets you freely charge boost power, and when combined with the SLAM engine, vastly simplifies power management at the cost of performance. {The pilot may divert power from Shields to Weapons, dropping Shields by 1D, but increasing Energy Weapon damage by 1D)
Sirplex Nimble Deflector: This shield offers a decrease in shield capacity in exchange for faster regeneration. You can use this in combination with the thrust engine to dart in and out of fights, using the faster regeneration to get your shields back up. With low capacity, this shield cannot withstand direct fire for long. {2D of back-up shields. When a die of shield is lost, if the pilot can make an Easy starship shields total, one of the back-up die codes of shields can be brought up to restore the shields}
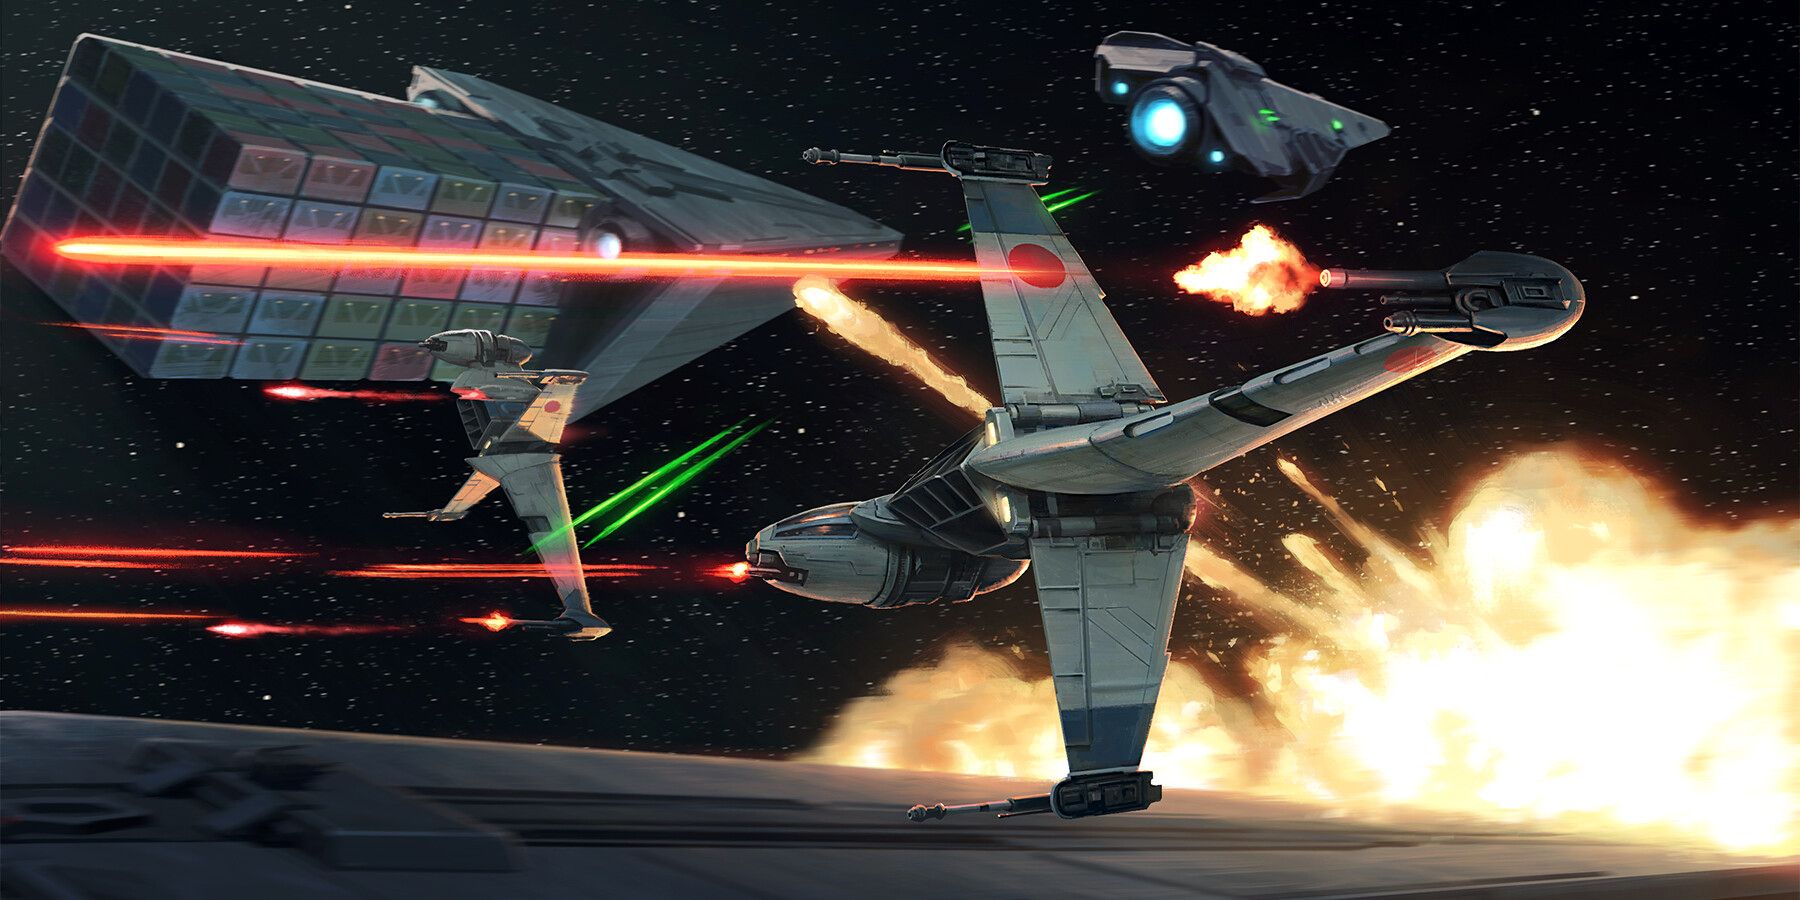
Description: A blockade buster with built-in ion cannons, the B-wing needs support in dogfights but delivers unparalleled damage to enemy capital ships.
The B-Wing is a starfighter belonging to the Bomber class, along with the Y-Wing. The B-Wing is a very difficult ship to use competitively, as it requires pilots to effectively employ boosting and drifting to reach their targets whilst also evading fire. The ship is much like a heavy interceptor, having much less health than the Y-Wing and being much faster when boosting continuously.
The B-Wing has unparalleled DPS capabilities, having both standard and ion canons. Another feature exclusive to the B-Wing is it's gyro-aux module, which allows the craft to rotate it's main wing around the cockpit to evade fire as well as increasing ammo count for ammo auxiliaries and halving cooldowns for cooldown-based auxiliaries.
In a nutshell, the B-Wing requires expertise and a good squadron to be used effectively.
|

