MIssion 9: Chaos at Mon Cala
What is it ? : In the Imperial Hangar, Varko Grey and Rella Sol are talking, discussing why the Imperial Senate is necessary, although Grey disagrees, thinking that officers like Gralm need direction not a leash.
In the briefing, you are told that to strike at the Starhawk again, the Empire plans to draw it's defence squadrons away by making strikes across the galaxy so they are summoned to help out, leaving the Starhawk defenceless.
Your part in it is to strike at the Mon Calamari shipyards, as there isn't enough numbers for a full attack, you'll strike at individual targets to sow chaos, targeting the fuel pods, and any Medical ships you can locate to make the attack as brutal as possible.
After the briefing you witness a discussion between Captain Kerrill and Admiral Rae Sloane, who agrees to overlook Kerrill's raid on Colonel Gralm's supplies, hoping they've both learned something from the encounter, she applauds Gralm's efficiency while commending Kerrill's finesse.
In the hangar, Grey commends you for the position of command you've just been placed in, and Shen looks forward to facing Anvil Squadron who is defending Mon Cala, as they shot him down previously causing him to lose two vertibrae.
Arriving about Mon Cala, you race towards the fuel pods, which can be destroyed easily as they are close enough together that destroying one causes a chain effect which takes out a number. As all 14 are destroyed, Anvil squadron arrives in X-Wings and A-Wings, supported by two Corellian Corvettes. Taking out the first wave allows you to move onto the second target, six GR-75 Transports escorted by fighters.
In the sake of striking quickly, you target the Transports rather than dealing with the fighters and getting tied up in combat, but they split up and attempt to escape making this more difficult.
Anvil squadron arrives en-masse, but your faster Tie Fighters can outrun them and move onto your next target a Nebulon-B frigate escorted by 4 X-Wings, but before you can destroy is, Anvil squadrons MC-75 cruiser arrives, the Silver Coronet. However if you destroy the Nebulon-B, the fighters retreat to defend the Silver Coronet which also calls in two Corvettes as support.
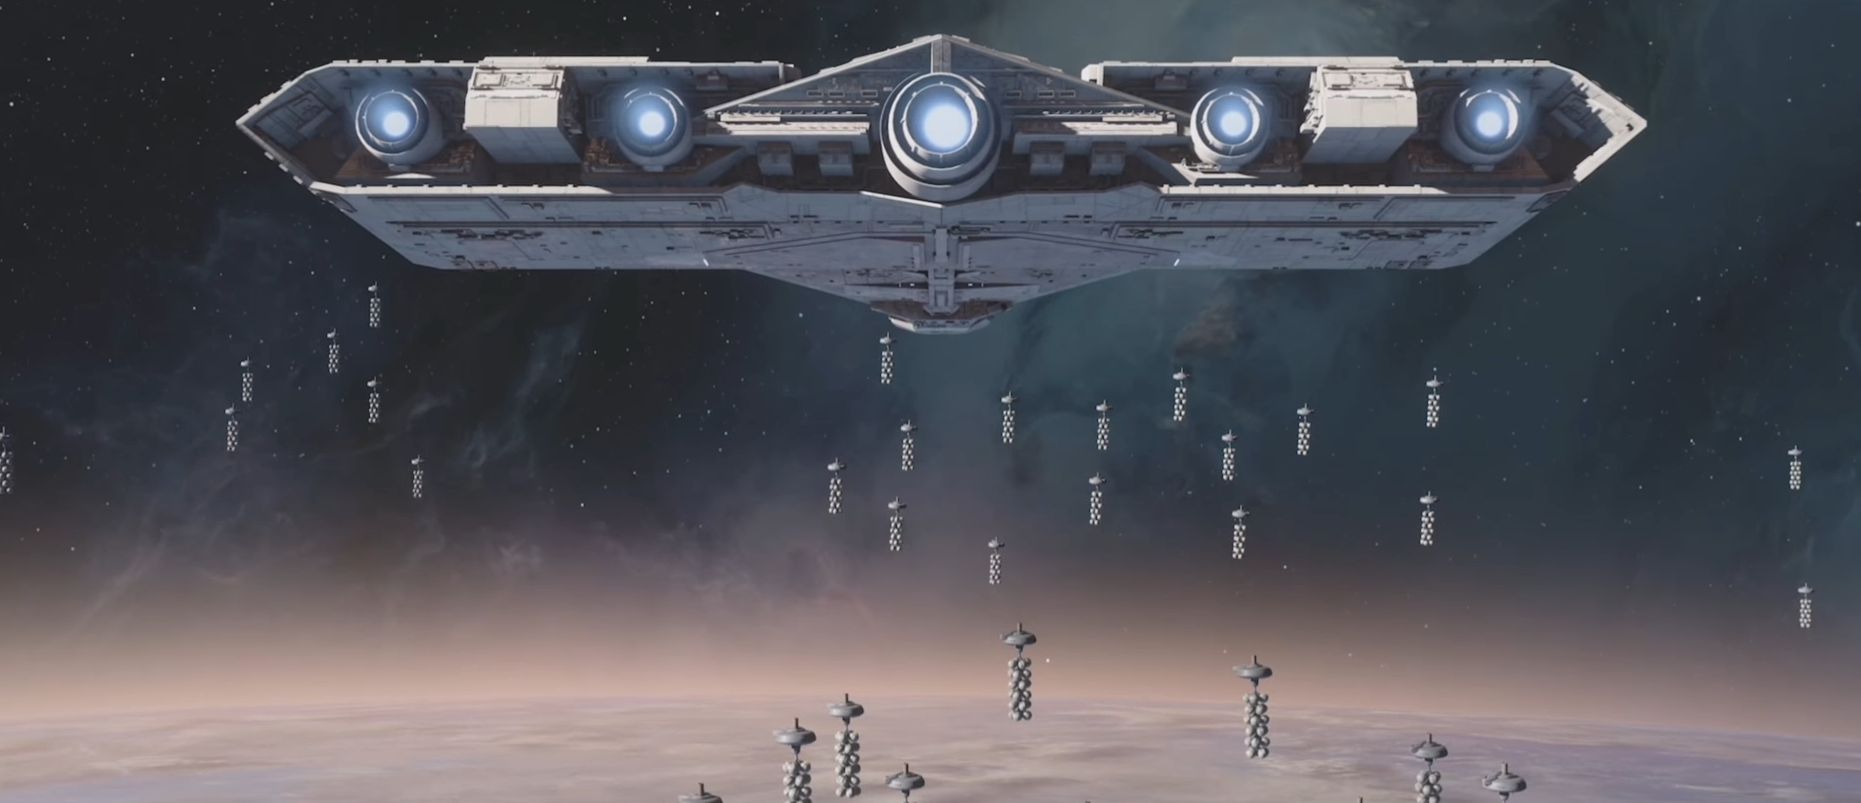
However your own support in the form of the Overseer also arrives, allowing you to resupply in its hangar and press your attack, targeting the shield generators of the Silver Coronet and then it's targeting systems, allowing Tie Bombers to launch from the Overseer and join the attack on the Rebel capital ship.
You take out the turrets of the capital ship, and then are instructed to target its power system, leading to the destruction of the Silver Coronet and the end of the mission.
High Points : Mixing up the mission format a little, by making you strike quickly and move on from target to target without mopping up all the enemy. Usually in missions it's been, arrive at waypoint, destroy everything, move to next waypoint, but here it's far more time restricted, and you are encouraged to move on as soon as certain mission criteria are met, making the mission feel more rapid paced and dangerous, as you are forced to flee from enemies to reach your next target without skirmishing with them properly.
Low Points : This level especially makes capital ships feel useless, in the titanic battle between an Imperial Star Destroyer and an MC-75 Cruiser, you take out the rebels shields to open it up to attack by the Destroyer. And then you take out the targeting systems and turrets to open it up to attack by Tie Bombers. And then you destroy it's power systems to blow it up.
There's something to be said for making the player the most important person in a mission, so they feel they're having an effect, but here it feels as if you're doing all the work, after all, what actually did the Overseer do? If you'd taken down the shields, so the Overseer could take down the Cruiser more easily, then that would be you playing a vital role in taking down a massive ship, But instead you seem to do all the work, and it's not entirely clear why you needed the Overseer there at all, as resupply can be done from far small ships, and basically that's all the Overseer served as, a resupply point.
So what do you really think ? : Without actually introducing any new gameplay elements, they manage to shake up the standard mission structure a little, as the next waypoint in the missions are activated long before you have cleared the last, allowing you to use the speed advantage of the Tie Fighter to quickly move onto the next part of the mission, leaving enemy survivors behind in the chaos you've just caused.
It's quite fun, and does manage to feel significantly different to the missions you've played before, and does put the Empire into the role that the Rebels were in earlier in the Galactic Civil War of performing quick strikes against targets and moving on before significant forces could be brought into play against them.
Which does provide a fairly interesting development in the plot, where the Rebels are using Imperial tactics of laying traps and trying to draw their enemies into them by providing false intelligence, and the Empire using Rebel tactics of fast raids against enemy targets.
Final Words : A definitely interesting and fun mission, where nothing important really happens plot wise, but just provides an enjoyable gaming experience.
Score : 8/10
Comments made about this Article!
There are currently no comments for this article, be the first to post in the form below


")
")
")
